KVM rWeb Installation
rWeb can be installed on any hypervisor system powered by KVM.
The following guide demonstrates an example of how to install rWeb VM using KVM Virtual Machine Manager. These instructions assume you already have the Virtual Machine Manager and the libvirt toolkit installed and running on your host machine. A quick video of the process is below:
Requirements
The rWeb image provided is a compressed thin image in .qcow2 format and should be added to the location of all images managed by libvirt prior to starting installation. If you wish to uncompress this image prior to installation, run the following command:
# This will create an uncompressed version of the image (~1.5 GB currently)
qemu-img convert -O qcow2
Additionally, to start the rWeb VM, you will need to configure appropriate Memory/CPU/Disk space.
Create KVM rWeb Device
To create a KVM rWeb virtual machine:
- Launch Virtual Machine Manager (virt-manager) on your KVM host server.
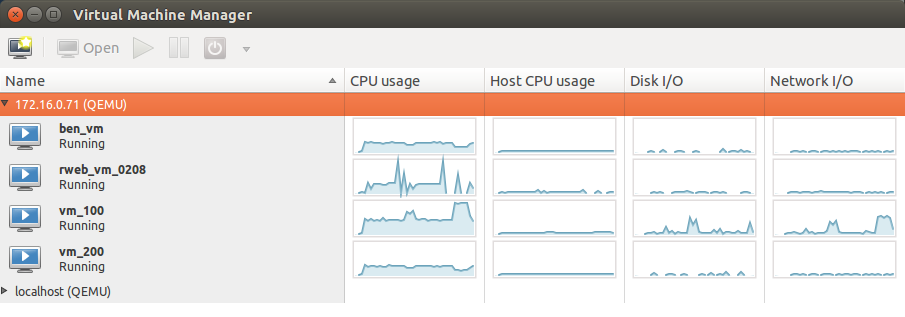
- In the toolbar, select Create a new virtual machine.
- Enter a descriptive Name for the VM.
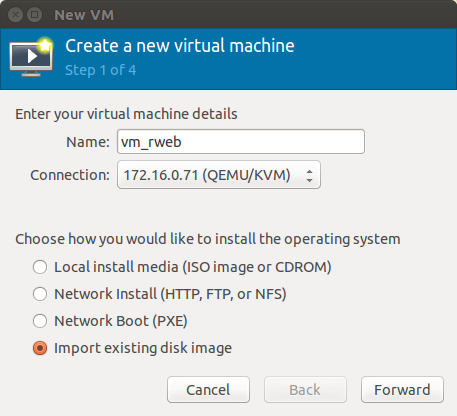
- Ensure that Connection is set to the host machine that will be running the rWeb VM.
- Select Import existing disk image, then hit Forward.
- In OS Type select **'**Linux' and in Version select 'Red Hat Enterprise Linux 6' (Version 7 if installing rWeb 9.0+).
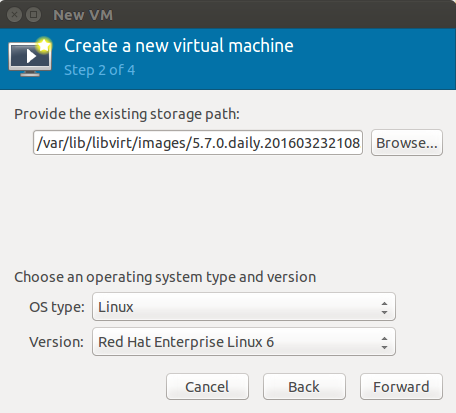
- Select Browse to find the .qcow2 image. If you copied the rWeb .qcow2 file to
/var/lib/libvirt/images, it will be visible on the right. If you saved it somewhere else on your server, select Browse Local and find it. - Once the image is selected, hit Forward.
- Specify the amount of memory and number of CPUs to allocate to the rWeb VM.
rWeb VM requires at least 8 GB (8192 MB) RAM and at least 1 CPU.
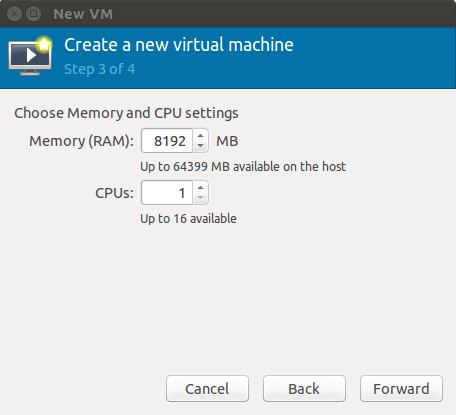
- Hit Forward.
- Select Finish. The rWeb VM should start.
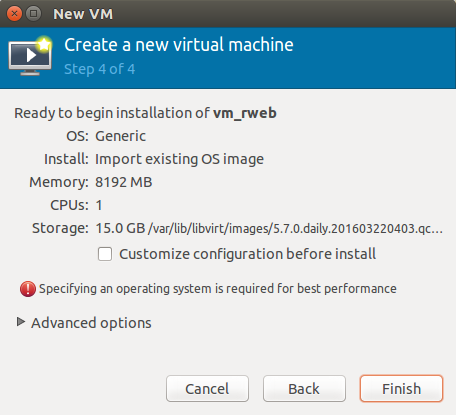
Configure KVM rWeb Device
To configure a KVM rWeb virtual machine:
- Launch Virtual Machine Manager (virt-manager) on your KVM host server.
- Ensure the rWeb VM is currently running.
- Click the rWeb VM and then Open to open a VNC window to the device. If you just created the device, it should have launched a VNC window on boot.
- Click the Info icon to open device properties, then go to the View menu.
- Select Text Console, and then Serial.
- This will change the window to a serial connection to the rWeb VM. Hit enter to bring up the prompt and a list of available commands.
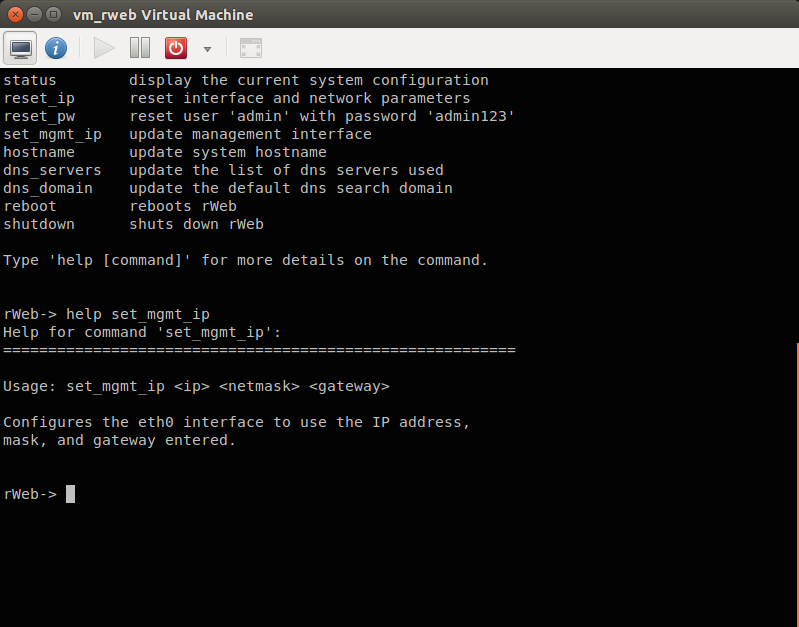
- The serial connection will provide a number of commands. Entering help will list them. Typing help then a command name will print out detailed information on that command.
- By default, rWeb will use a management IP of 192.168.1.3. If your VM requires a different network address, you will need to use the
set_mgmt_ipcommand.
If the VM has just been created, it may take up to five minutes for the initial IP configuration to take effect.
- Check to make sure you can log into rWeb from within your network, by using a browse to visit https://[IP from step 8]. If you are running DNS and configured a hostname, you can access rWeb using that hostname instead of by IP.
- Once the login prompt is visible, login using the following default user name and password:
login: adminpassword: admin123 - Once logged in, you will need to get a license for the new VM from the license administration page. The top section has a table of unlicensed devices (on a fresh install this will only be the rWeb). You can click the button in the table to copy the serial number to your clipboard. Paste this in an email to so they can generate a license for the VM. They will notify you once it is generated, so that all you need to do is click the "Pull licenses and apply" button to license your rWeb.
- You should now be able to configure rWeb to work with your filter devices. Please refer to the mitigation guide for more information on how to adjust your mitigation settings.
Increasing KVM rWeb Storage Space
The default configuration of the rWeb VM image has 15 GB of virtual storage. This is enough for roughly one week of historical data plus rWeb's internal requirements. If you require more history, you will need to expand the amount of storage available on the image. You can see how much more storage will be required by reviewing rWeb's current storage use. To increase the image's storage space:
- Shut down rWeb. You can do this from either the rWeb management page or issuing the shutdown command through the serial connection.
- Launch Virtual Machine Manager (virt-manager) on your KVM host server.
- Ensure the rWeb VM is currently stopped.
- On your host machine, identify the path to the .qcow2 file used to start the rWeb VM.
- In a shell, use the following command, using the path to the image and N as the number of GB to add to the image:
qemu-img resize [path-to-image] +[N]G - In the Virtual Machine Manager, start the rWeb VM. The VM will start and reboot once to incorporate the new storage space into its partition.
- Once the VM reboots, verify that the disk usage is now at the desired amount of storage space.