VMWare- Create RIOS VM Device
The following guide shows how to install a RIOS VM. These instructions are shown using ESXi, but as the RIOS VM is provided as an ISO, this could be applied to other VM environments. These instructions assume you are configuring the VM to use PCI Passthrough.
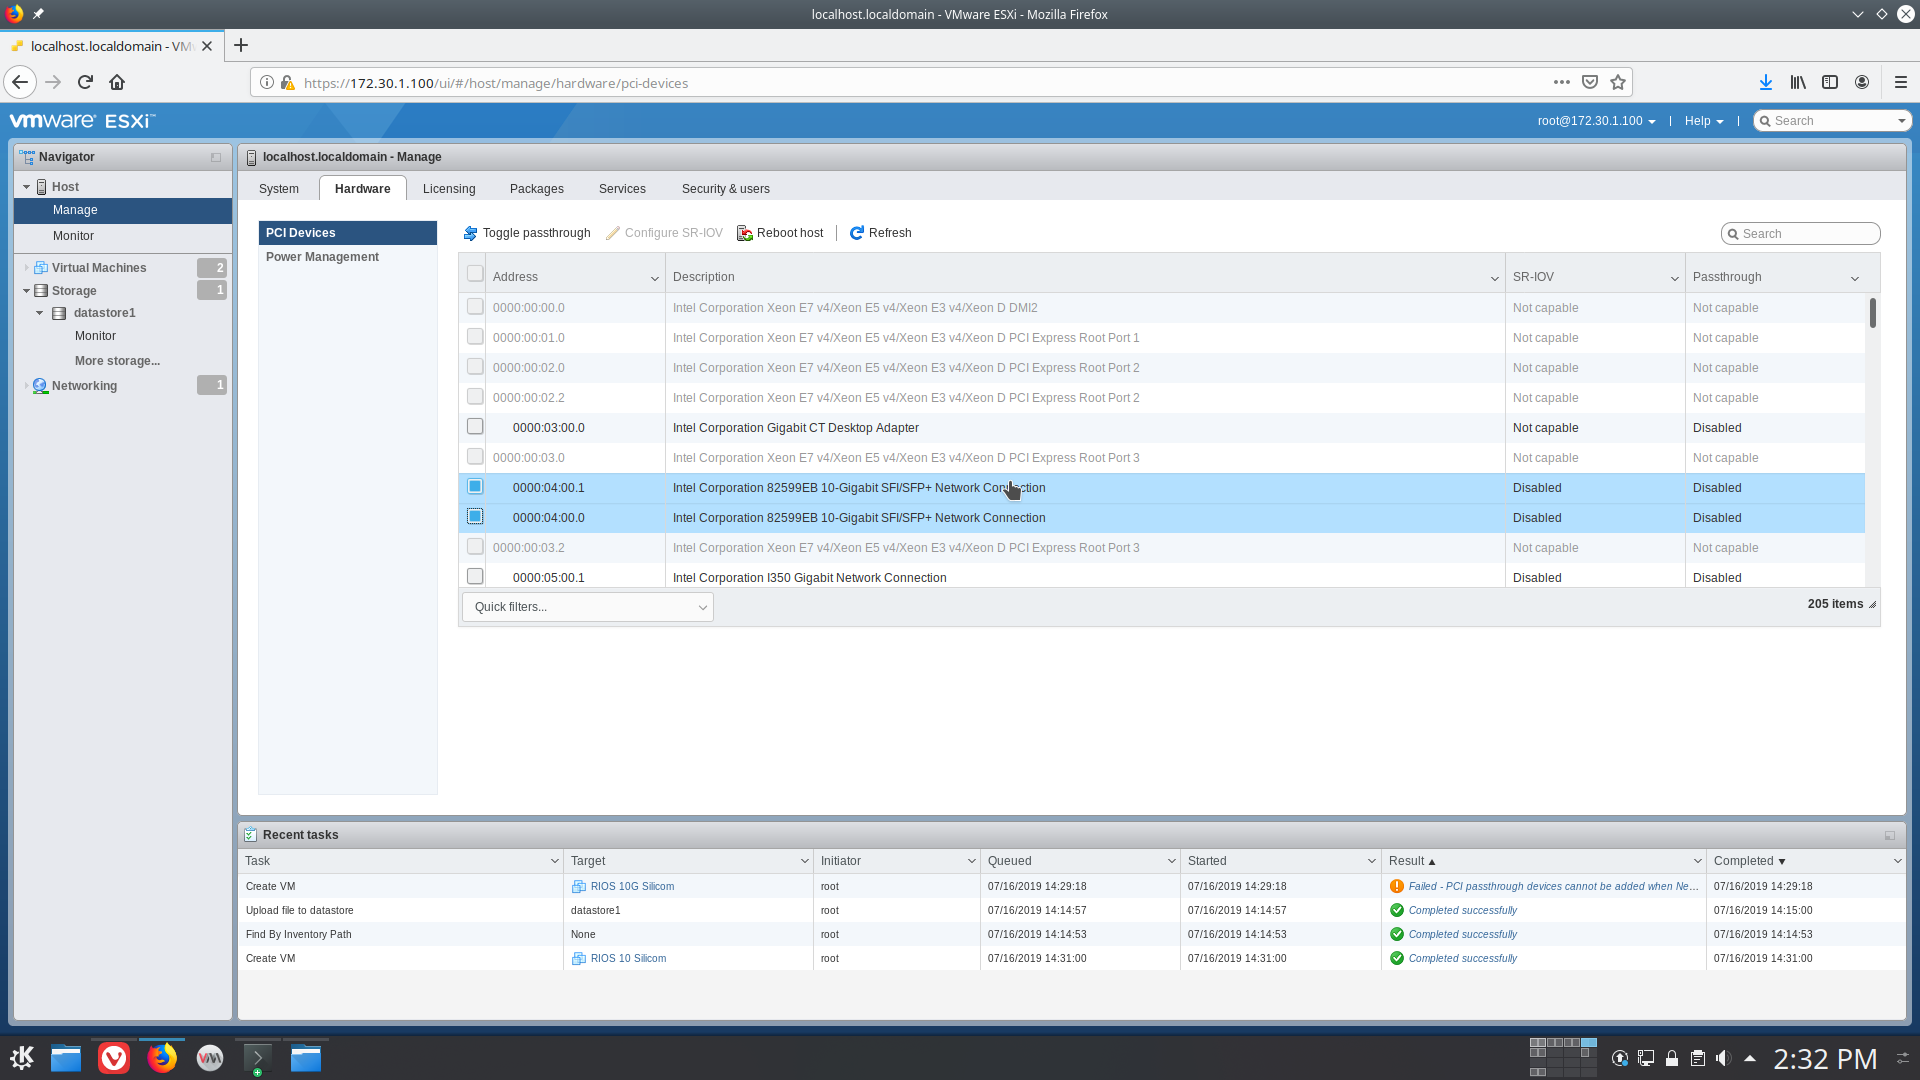
- Enable PCI Passthrough for the NIC on the host machine. This will require a reboot of the host machine so this step should be performed first.
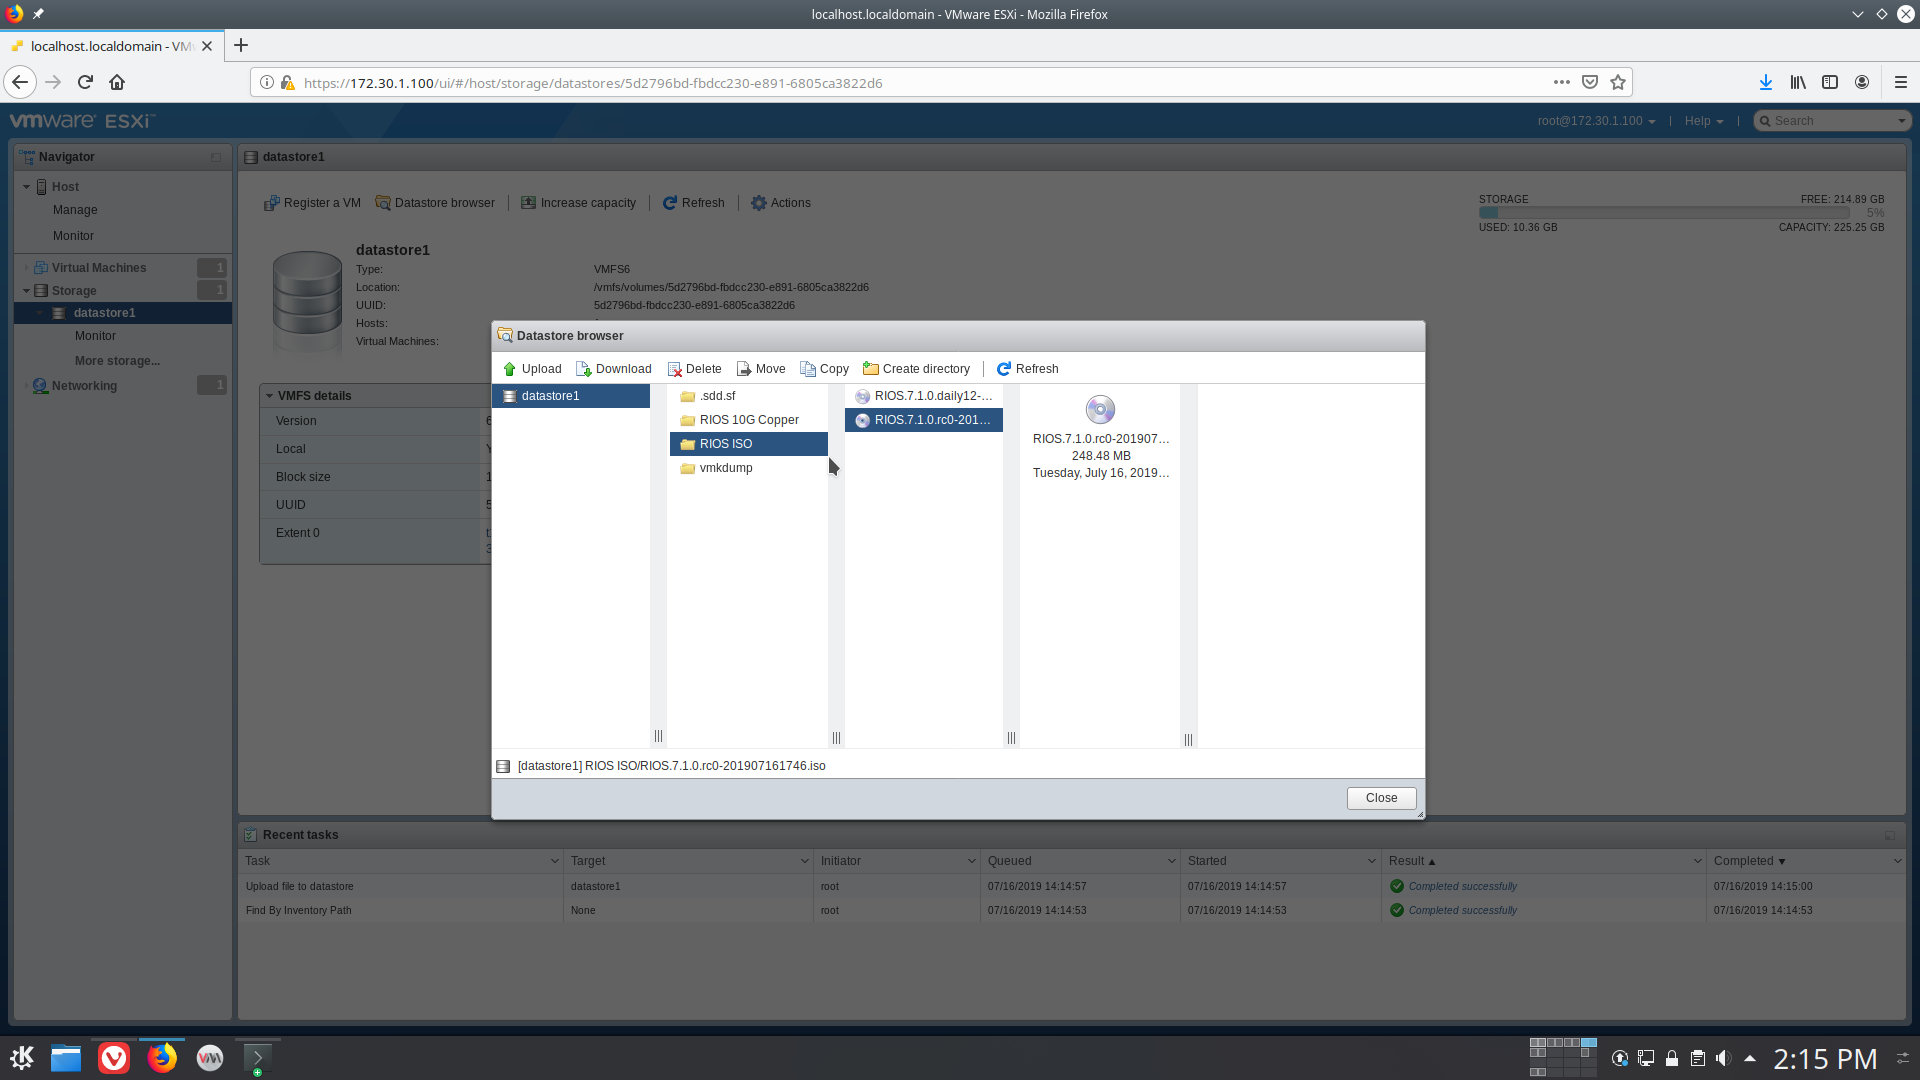
- Browse to your data store and upload the RIOS VM image to your desired location.
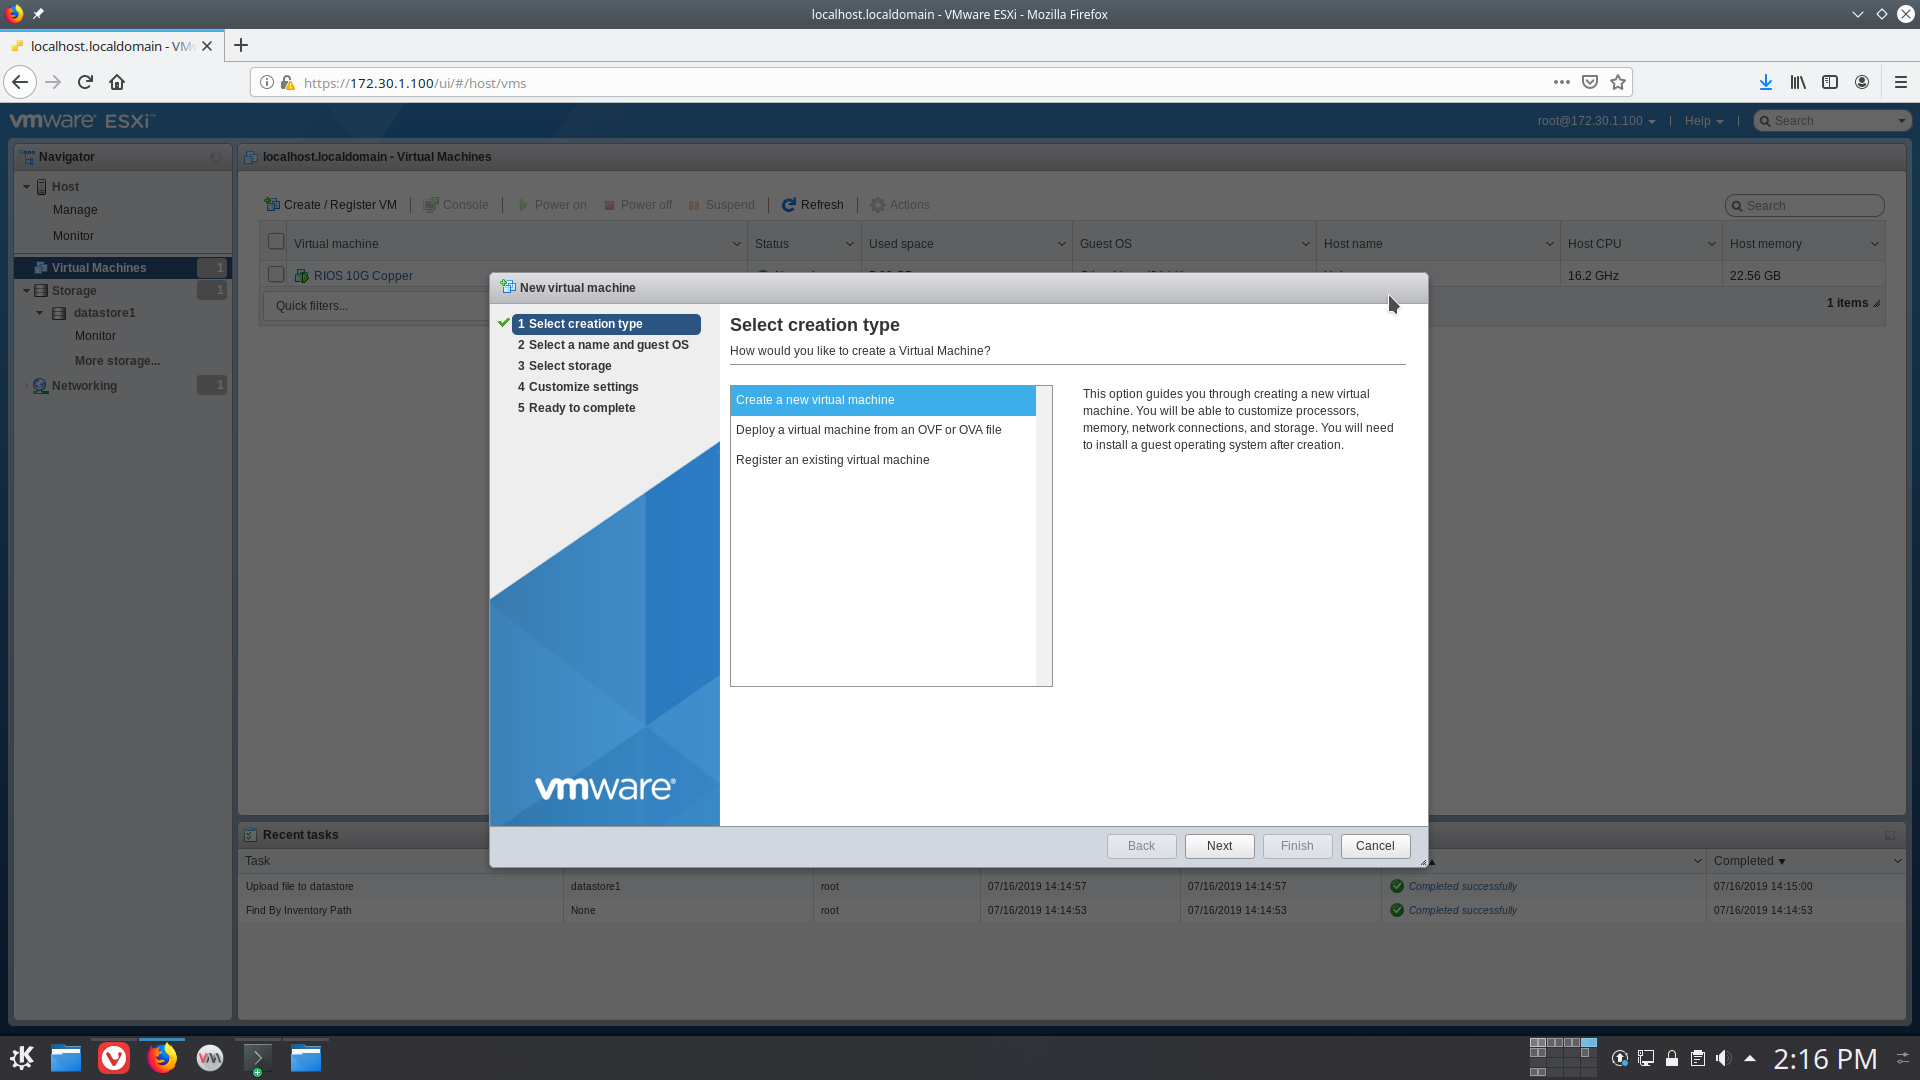
- Create a new virtual machine.
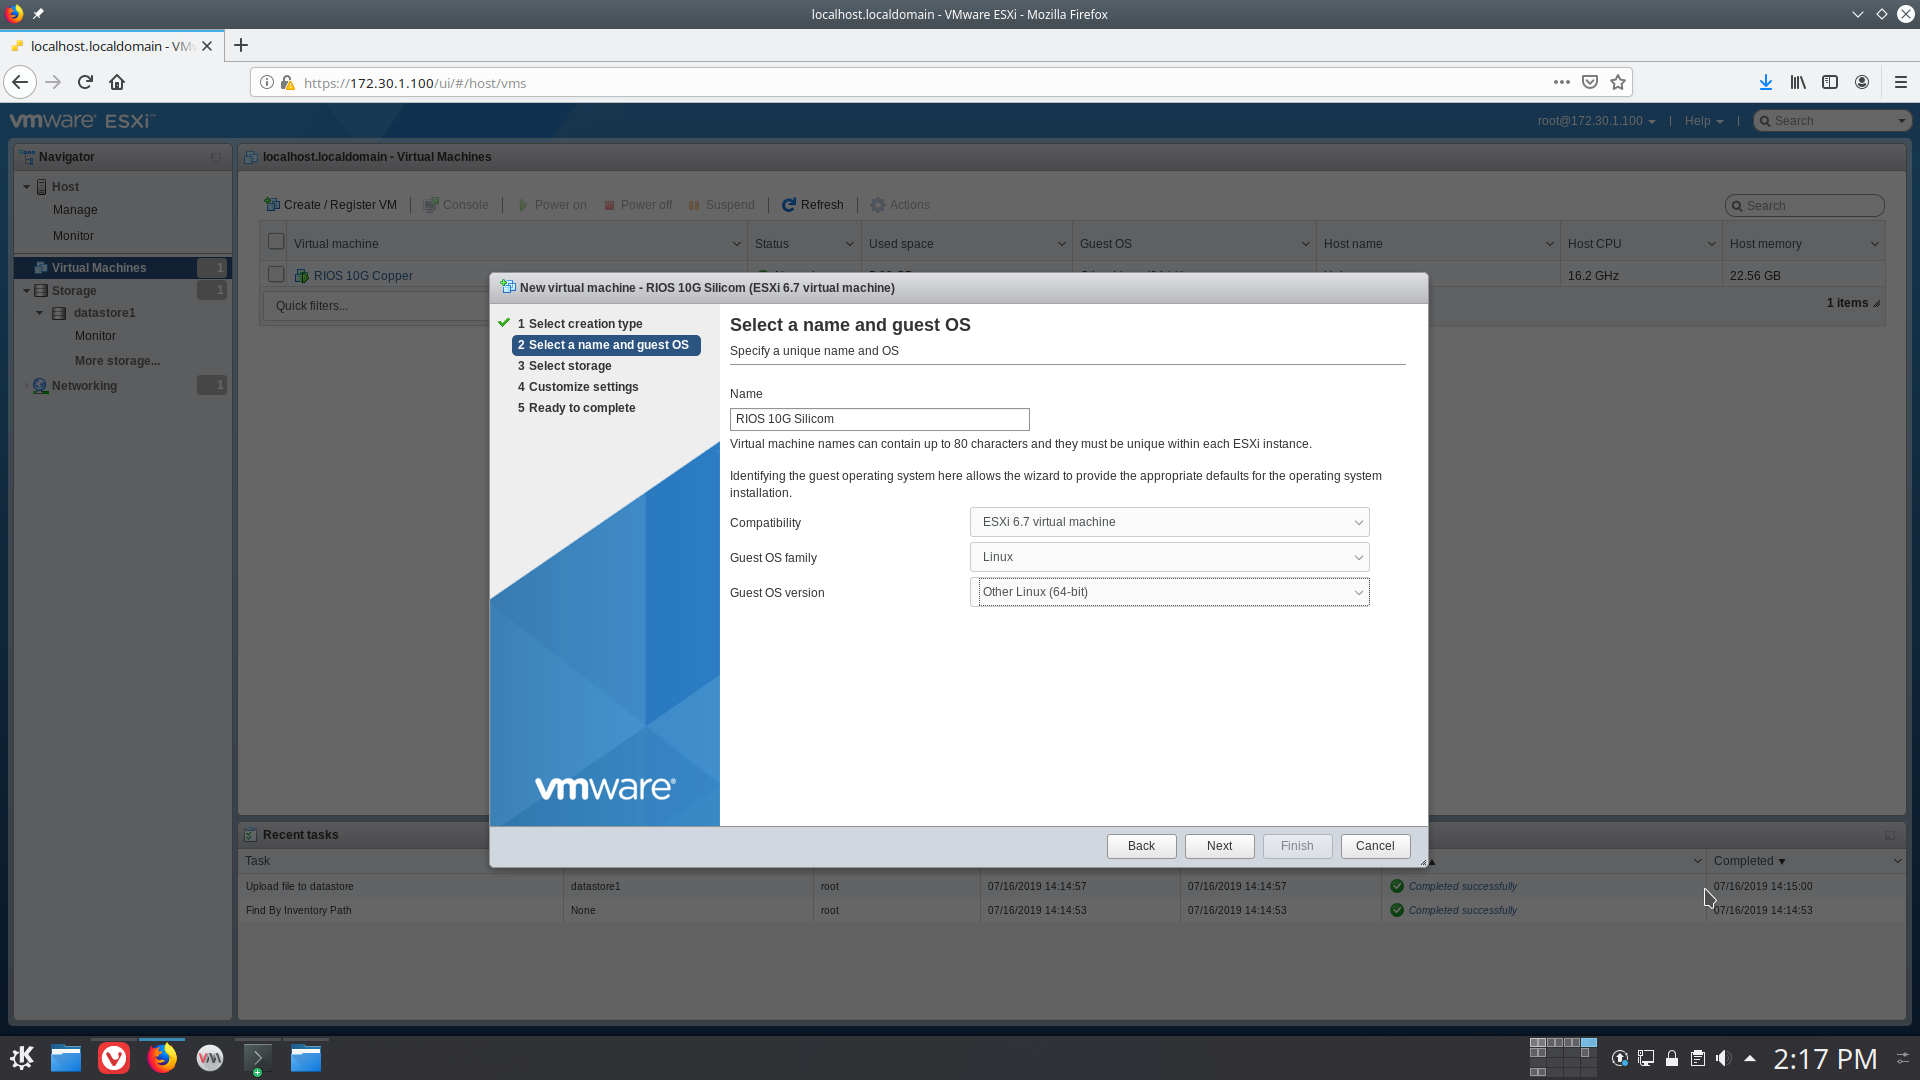
- Enter a name for the VM, and under Guest OS family select "Linux" and under Guest OS version select "Other Linux (64-bit)", then select "Next".
- Select where the underlying storage for the VM will be located. All of the supported VMs (1G, 5G, and 10G) require 4GB of storage space. Then hit "Next".
-89b5847dcc0968e3e4e006429213ff06.png)
- Configure your VM according to the requirements shown in the initial RIOS VM table. This example configuration is for a 10G VM.
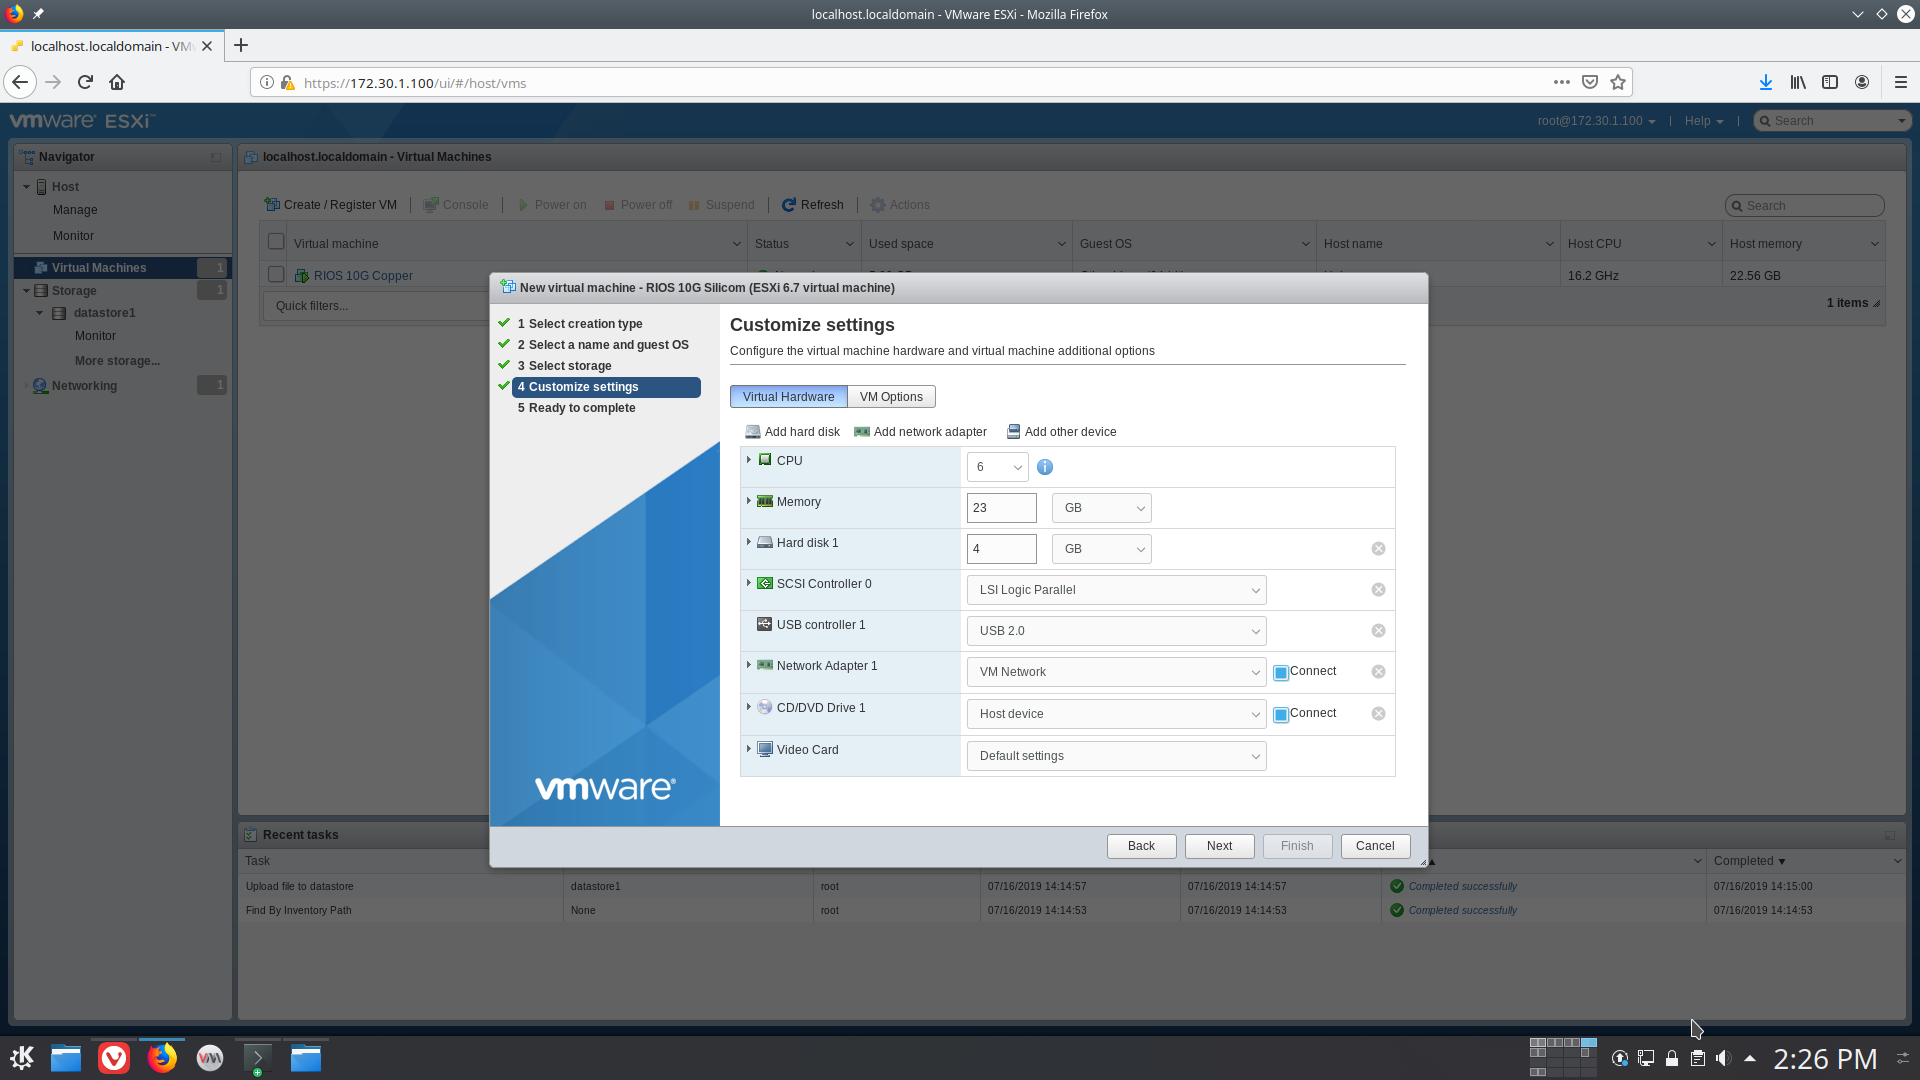
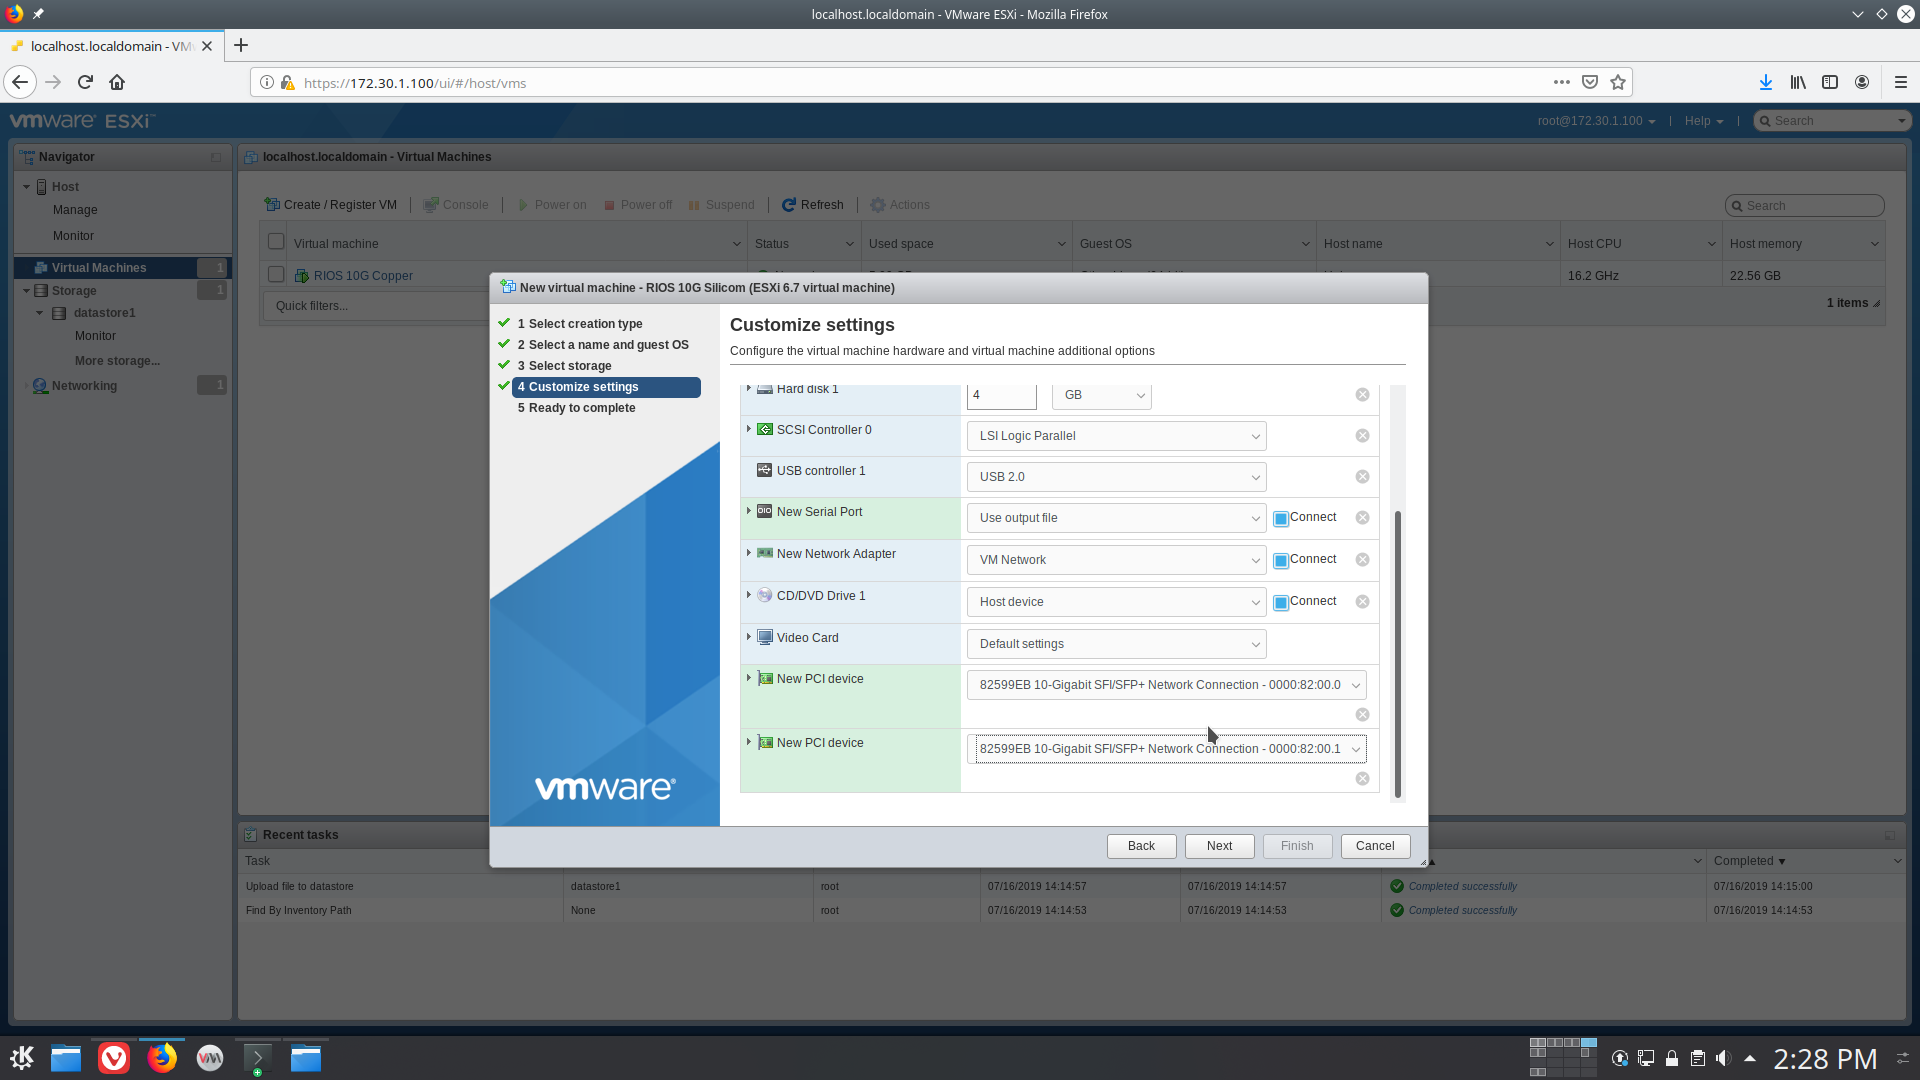
- Under "Add other device", select "Serial Port". This step is optional, but will greatly speed up the boot time of the VM and so is highly recommended.
- Under "Add other device", select "Add PCI device" two times to add two new PCI devices. You should select the NICs where you enabled PCI Passthrough in step 1 above.
- Under "Memory"->"Reservation", check "Reserve all guest memory (All locked)".
- Under "CD/DVD Drive 1", select "Datastore ISO file" and select the VM image you uploaded in step 2 above.
- Now select "VM Options"->"Advanced". Set the Latency Sensitivity to "High".
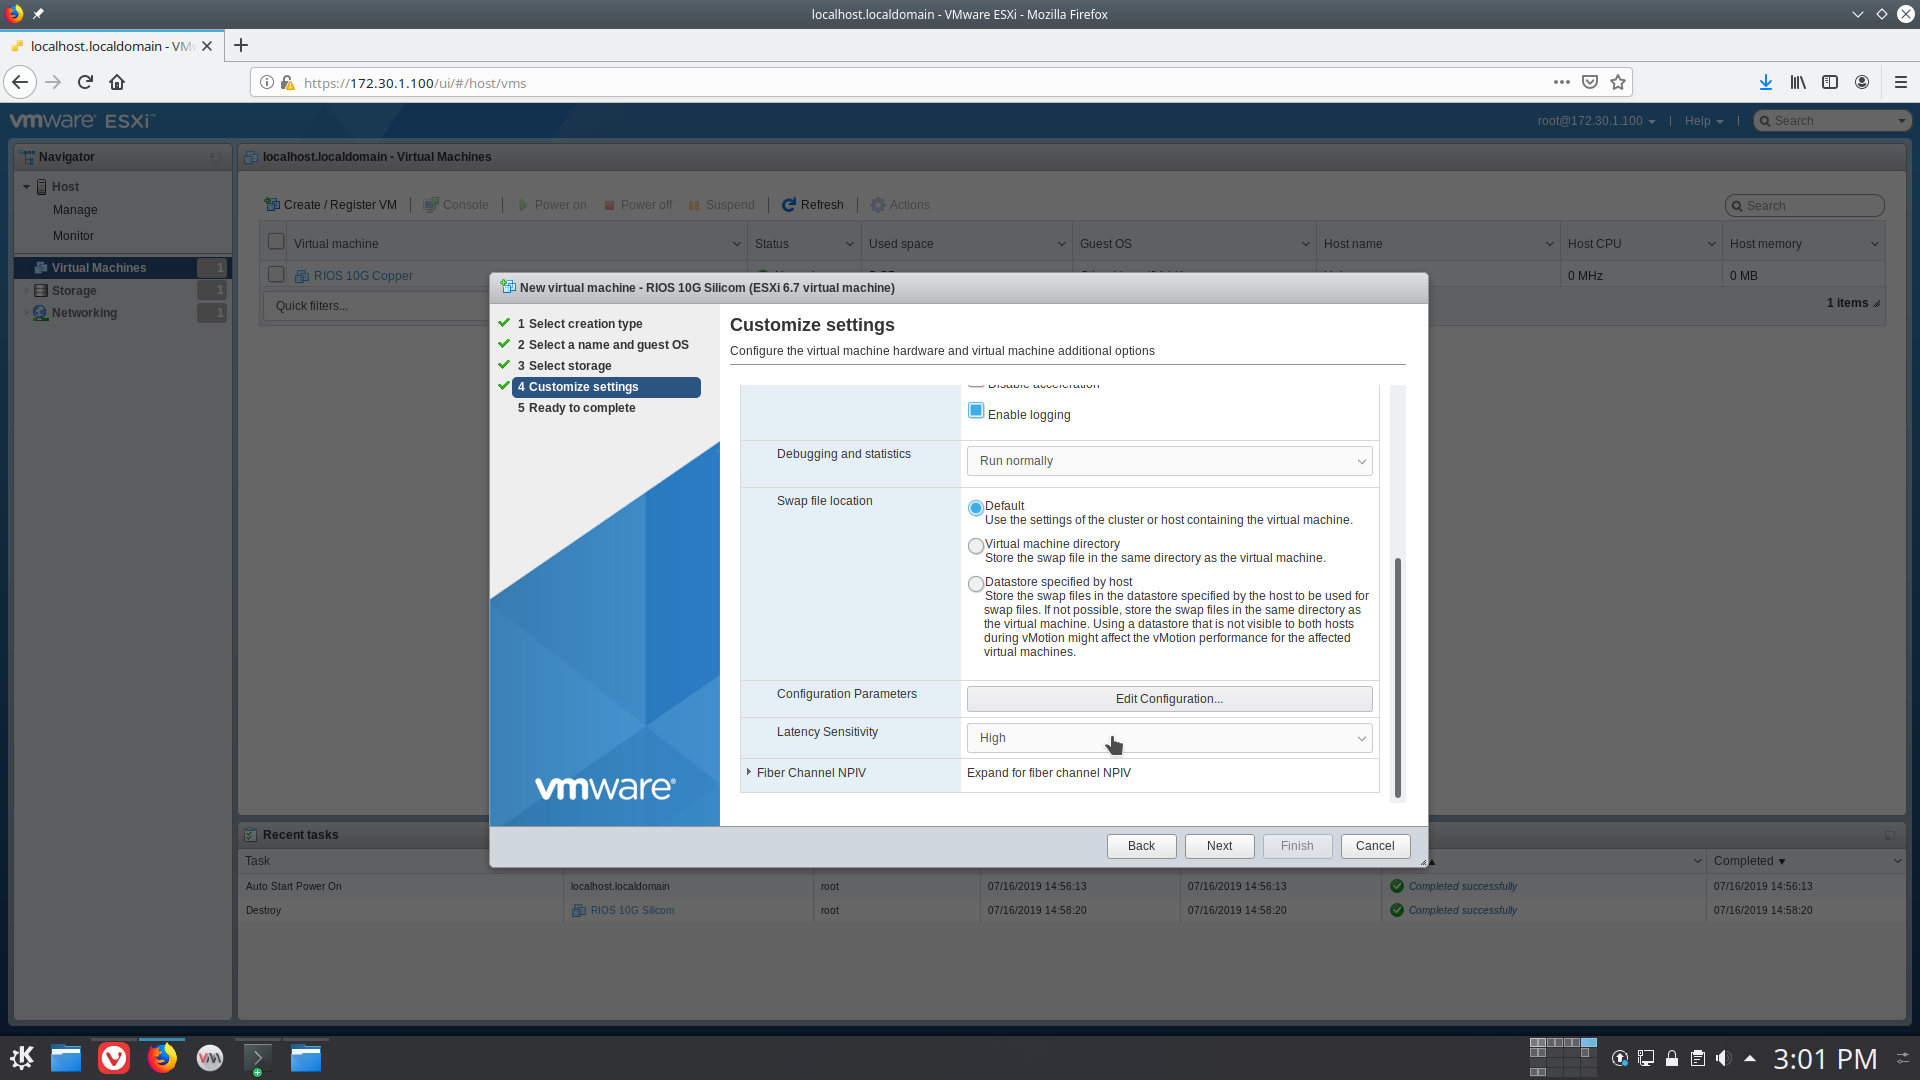
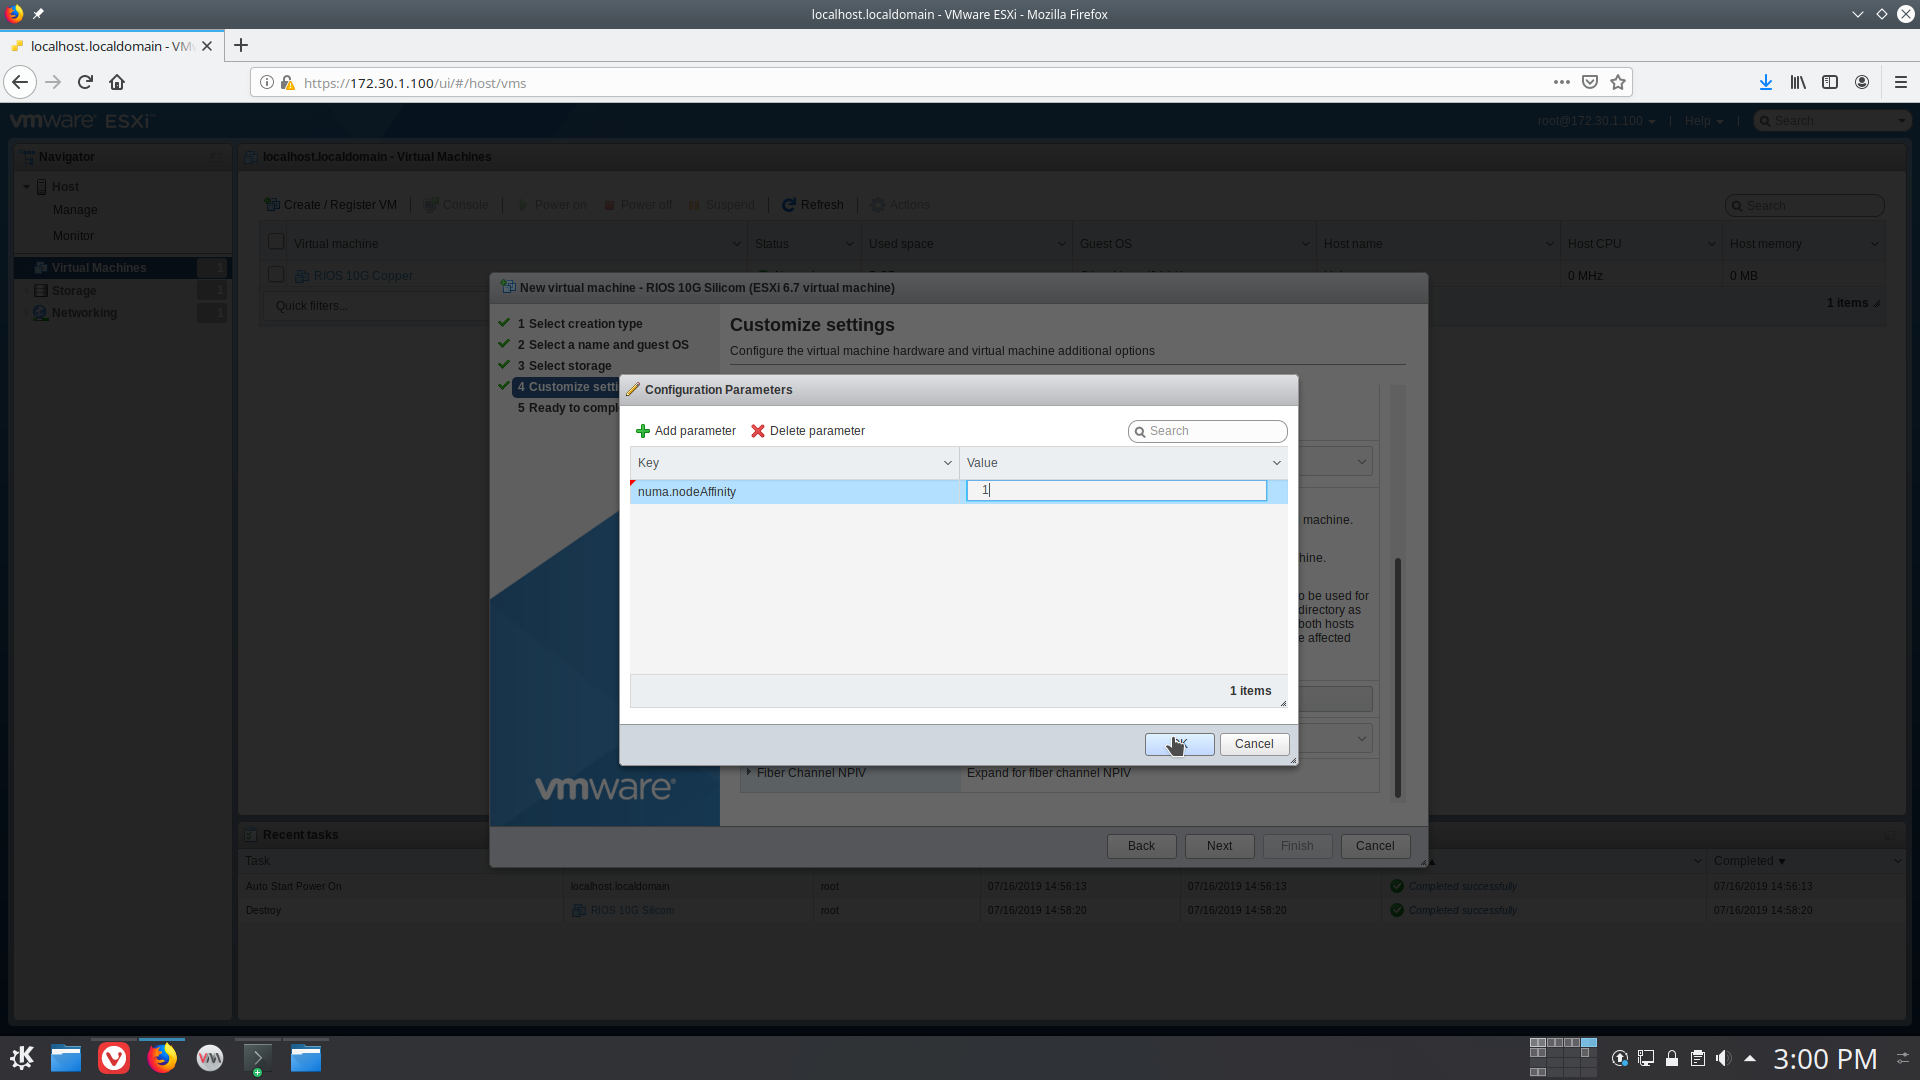
- Optionally, while on this screen hit "Edit Configuration" under "Configuration Parameters". Then hit "Add Parameter" and add a key of "numa.nodeAffinity", with a value of the NUMA node that is associated with your WAN NIC. Please see the VM Performance Considerations section for more information about this setting.
- When done, hit "Next" and then "Finish" to complete creating the RIOS VM.
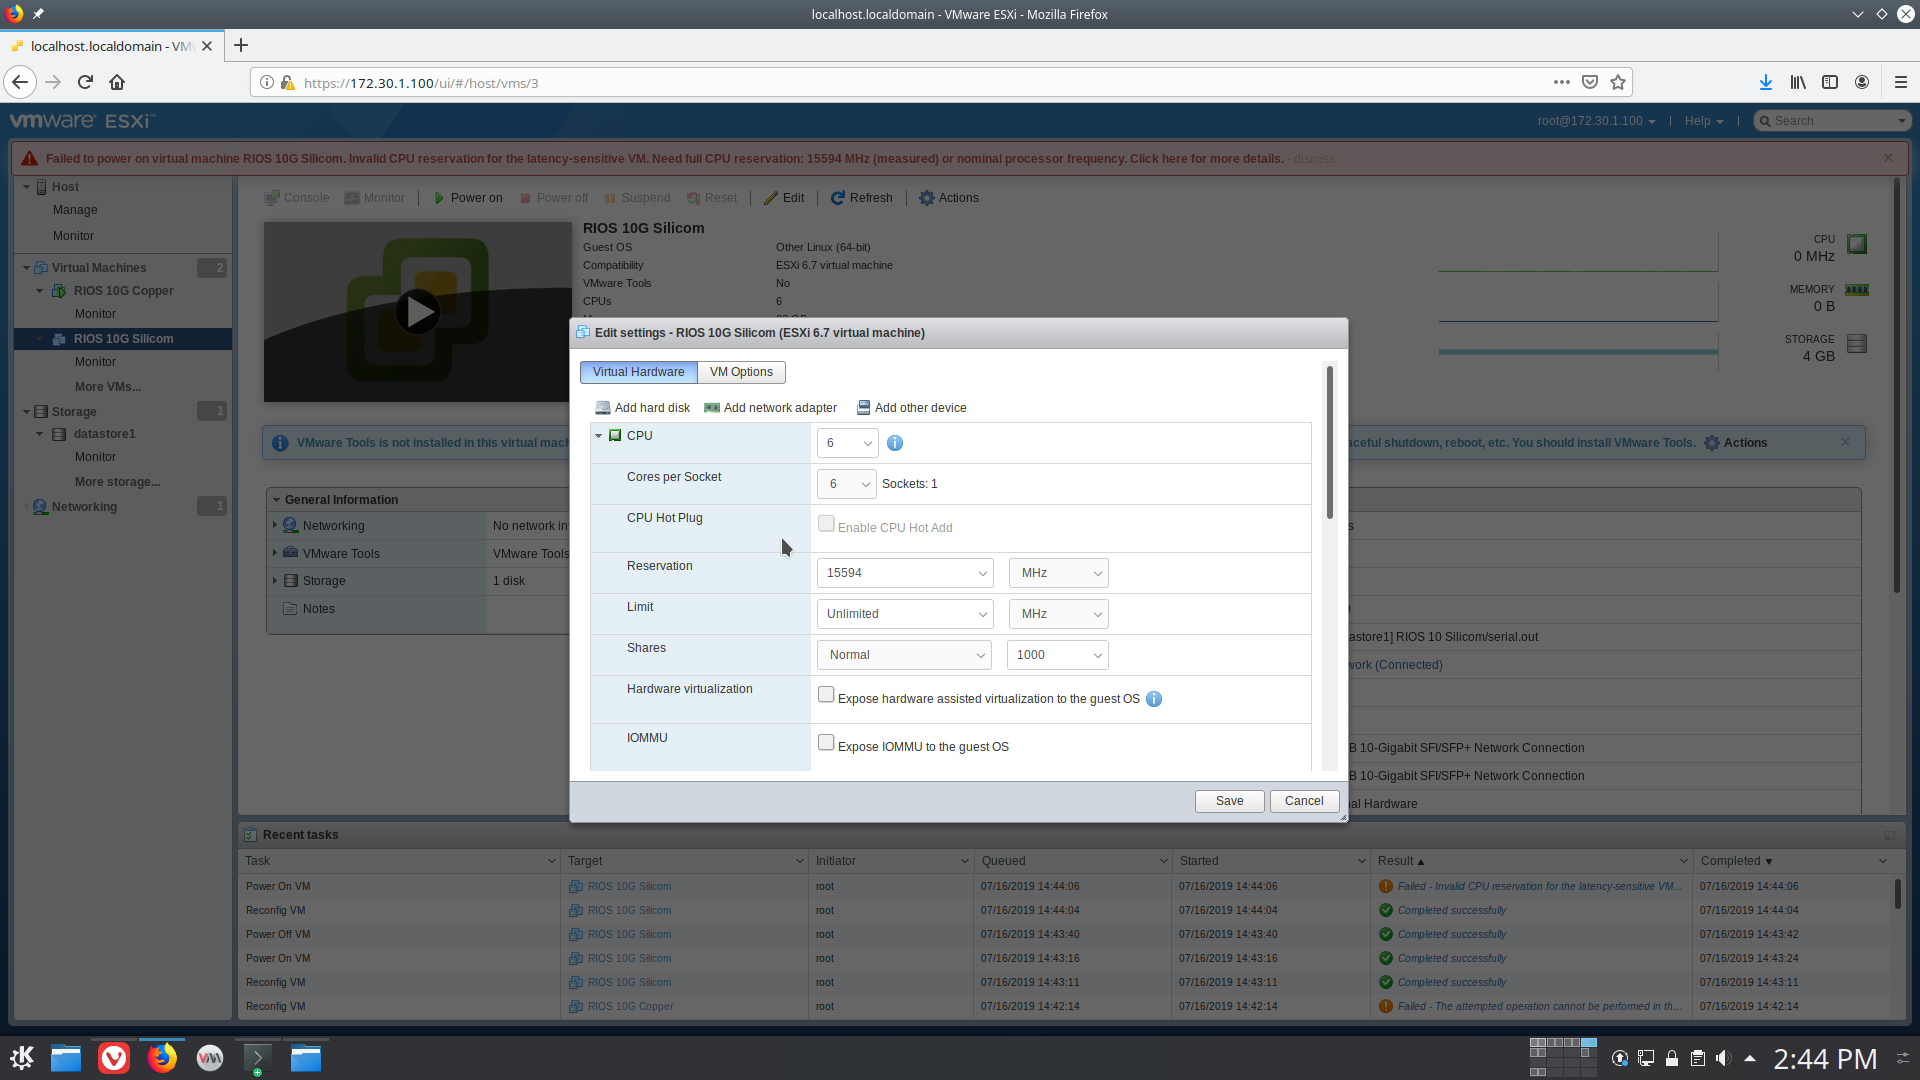
- On first power on of the VM there may be an issue related to measured CPU frequency by the system (more information available here). In this case hit "Edit" for your system, then under "CPU" enter the frequency reported in the error message into the "Reservation" section. Then hit "Save" and power on the VM.
Next step: RIOS VM First Time Boot