Zone Control
All Groups and Zones can be configured and selected from the the top right menu under Zone Control. By default, this selection will populate the leftmost Group column with data from the highest parent Group available to your user (as compared to the Default Group). New Groups and Zones can be quickly added with routes and basic configuration here.
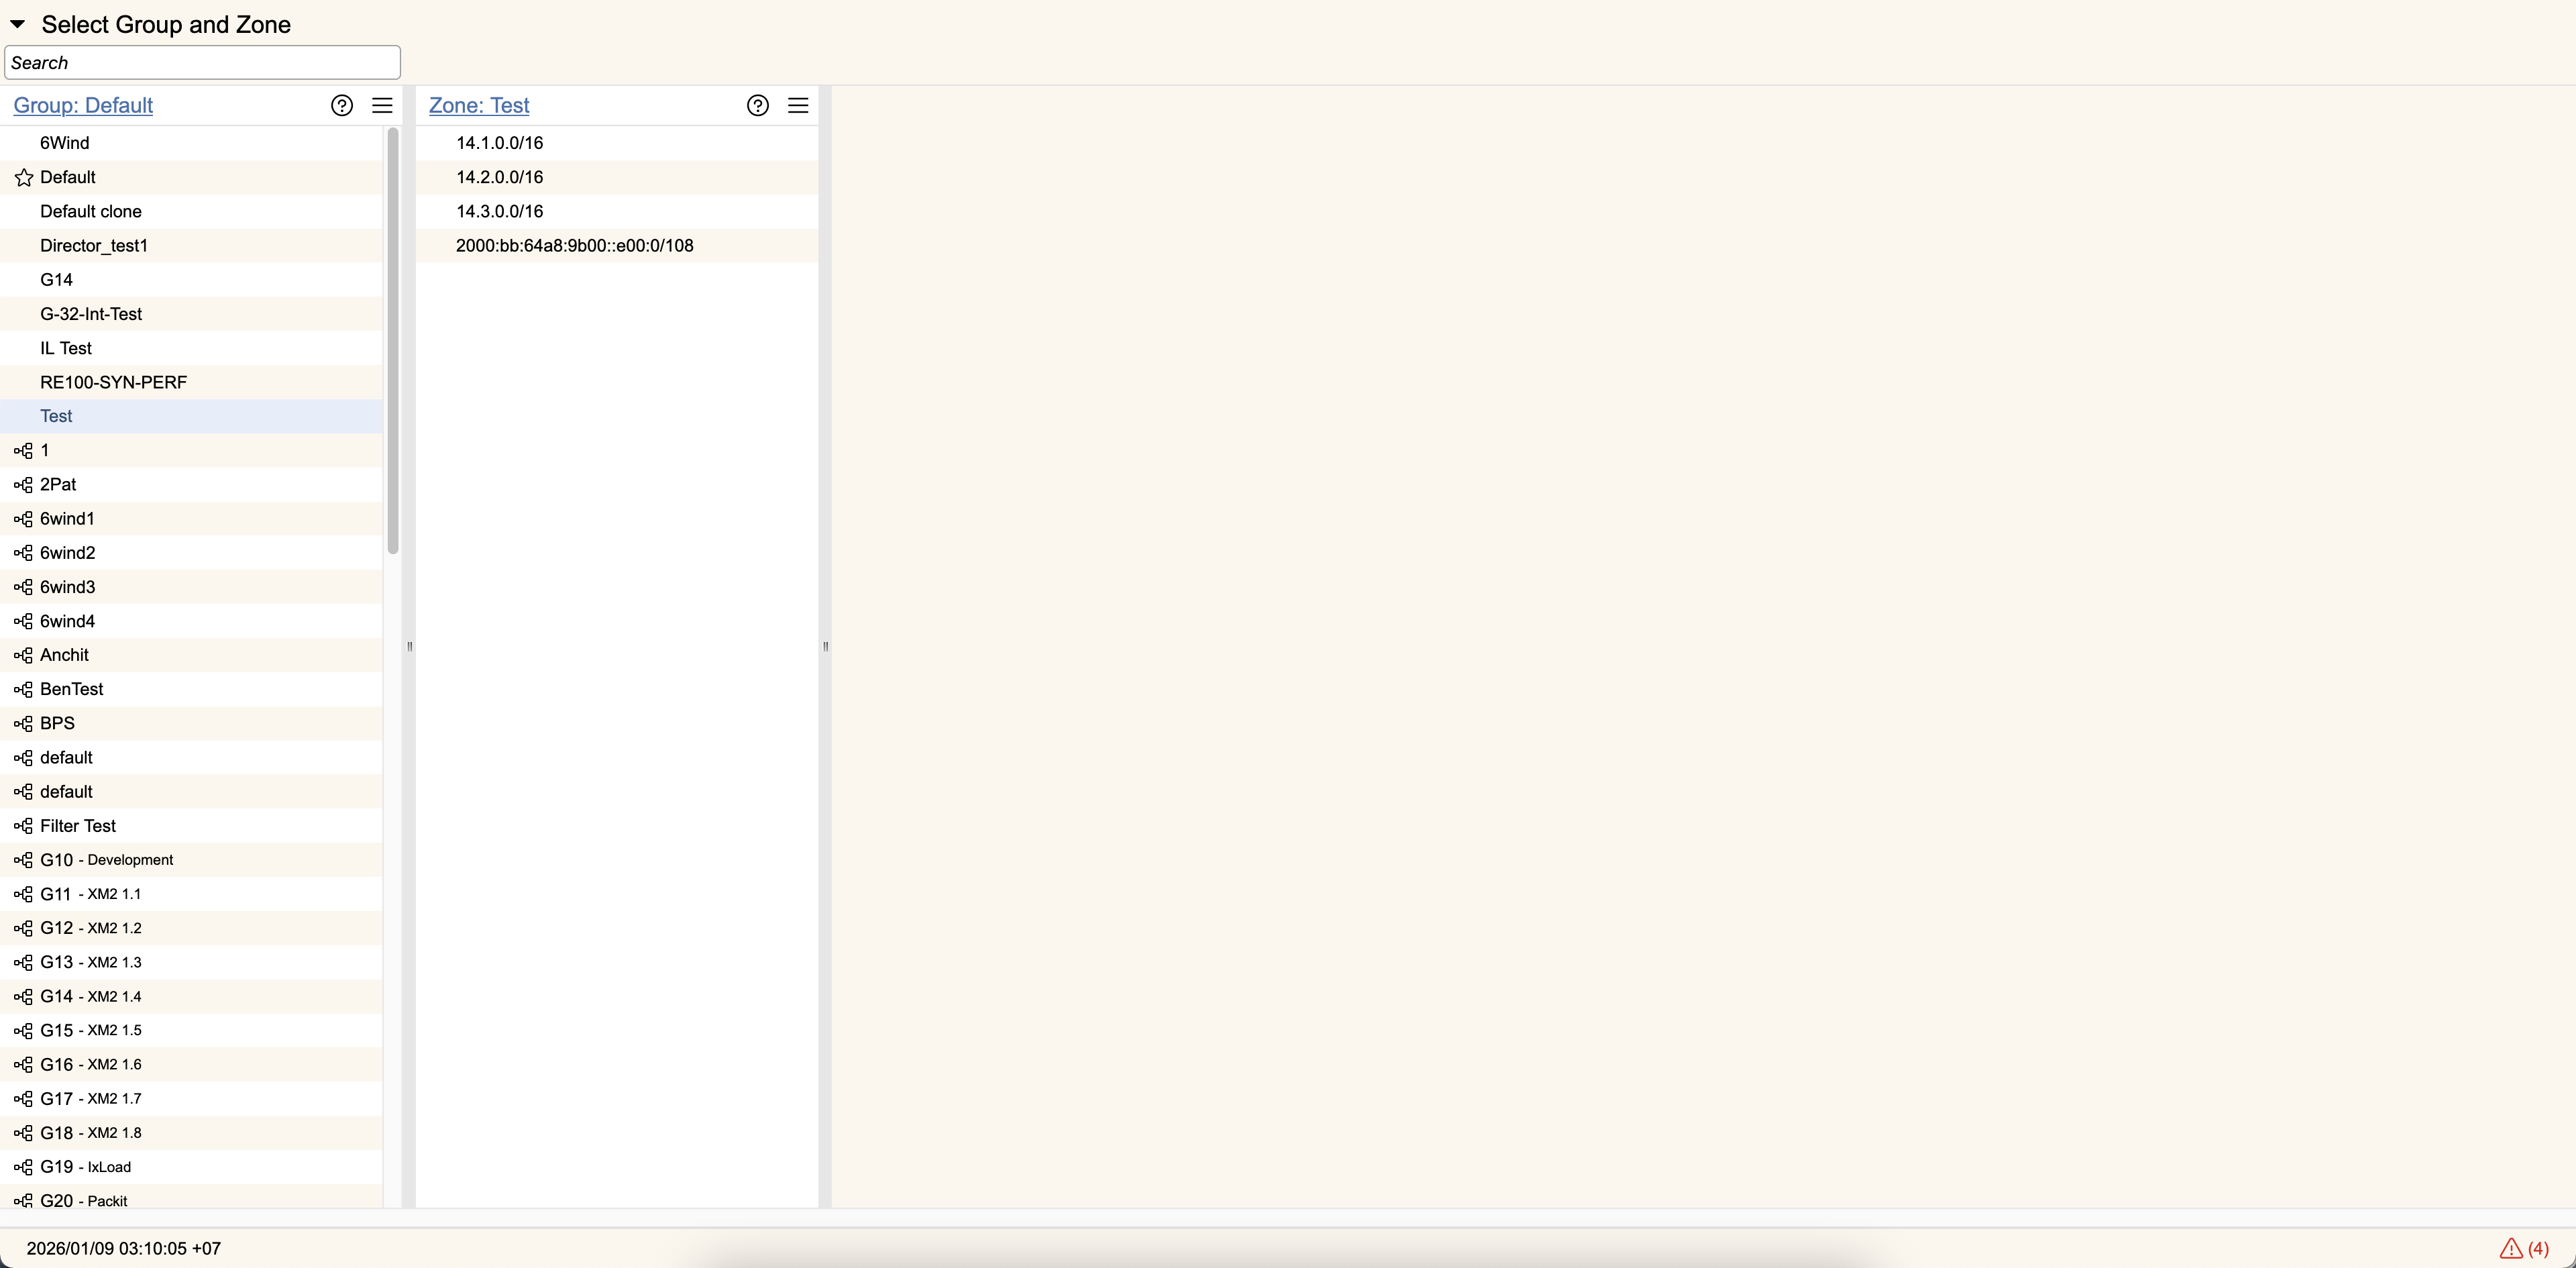
Group Column
A Group Column represents both the children groups and zones associated with a group.
Basic Usage
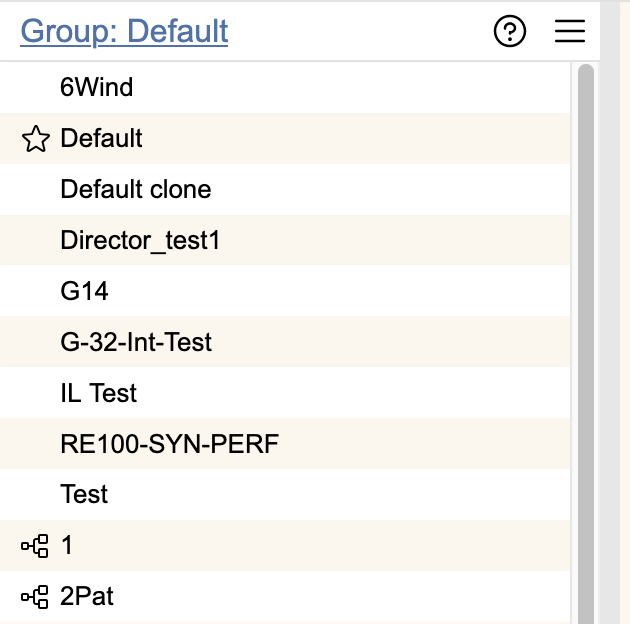
The column will be labeled at the top as "Group: " with a hyperlink. Clicking this link will take you to the group information page for the group.
Each entry listed in the column represents either a zone directly associated with this group, or a child group. Entries which are children groups are denoted with an icon. The Default Zone will always be indicated with a star icon , to make it easy to find in case you change the name of that Zone.
Selecting an entry will open a new column immediately to the right of the existing one, either another group column if it is a group entry or a zone column if it is a zone entry.
Editing the Group
At the top of the column, click the three bar icon and select Edit Group.
A new column to the right will appear, allowing you to edit the group Name and Description.
Hit Save to accept any changes you make or hit Cancel, which will remove the edit column.
Adding a Group
At the top of the column, click the three bar icon and select Add Group.
A new column to the right will appear, allowing you to edit the group **Name **and Description.
Hit Save to accept any changes you make or hit Cancel, which will remove the add column.
A new group will be created and shown in the owning group's column. By default, this new group will inherit routes and devices from the parent group (currently selected group).
Moving a Group
At the top of the column, click the three bar icon and select Move Group.
A selection popup will appear, similar to the main Zone Control navigation screen. Navigate to the new parent group you want to move this group to, then hit the Select button at the top of that group's column. Once you've selected a new owning group, a dropdown menu for routing changes will appear with the following options:
- Do not modify zone device mapping- This option won't remove any devices from the moved group's child zones.
- Unmap old devices and map [new group] group device to all the zones- This option will clear all devices mapped to all of the moved group's child zones, and then remap using the new group's group devices.
Hit Apply to move the group with any device changes or hit Cancel to back out and close the popup.
In order to move a group, you'll need Group Admin permissions for both the current parent group and the new parent group. Additionally, because you will be moving the group with all of its children groups and zones, the new parent group must have enough available resource limits to absorb the new groups and zones.
Adding a Zone
At the top of the column, click the three bar icon and select Add Zone.
A new column to the right will appear, allowing you to edit the zone Name.
A new zone will be created and shown in the owning group's column. By default, this new zone will have no configured subnets, and be pushed to the configured group devices.
Delete Selected
When either a zone or a group is selected, the Delete Selected option will be available in the three bar at the top of the column.
When used, a confirmation dialogue will appear. Hitting OK will delete the selected zone or group.
If deleting a group, all children groups and zones of that group will also be removed.
When a zone with subnets is removed, the zone with the next most specific routes will become responsible for traffic to the deleted zone.
For example, say zone A is assigned 172.16.0.0/16, and zone B is assigned 172.16.1.0/24. If you delete zone B, all traffic to 172.16.1.0/24 will now be handled by zone A.
Zone Column
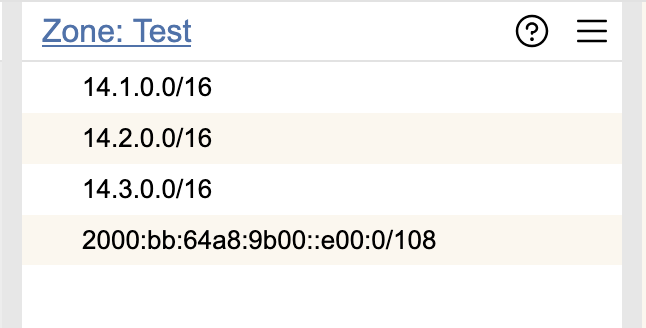
A Zone Column represents the subnets associated with a zone.
Basic Usage
The column will be labeled at the top as "Zone: " with a hyperlink. Clicking this link will take you to the Zone Control Panel.
Each entry listed in the column represents a subnet assigned to the zone.
Selecting an entry will open a new subnet column immediately to the right of the zone column.
At the top of the column, click the three bar icon and select Zone Routing to go directly to the Zone Routing Tab to review all subnets and devices assigned to the zone.
Editing the Zone
At the top of the column, click the three bar icon and select Edit Zone.
A new column to the right will appear, allowing you to edit the zone Name.
Hit Save to accept any changes you make or hit Cancel, which will remove the edit column.
Move Zone
At the top of the column, click the three bar icon and select Move Zone. This will open a popup asking which group should be the new parent of the zone. This requires the user to have routing permissions in both the original and new group, and the new group must have access to the same subnets and devices of the original group.
Once moved, any scheduled zone reports against this zone in the orginal group will be canceled.
Clone Zone
At the top of the column, click the three bar icon and select Clone Zone. This will create copy of the zone (named as Original Zone Name clone) in the same group, configured on the same devices with the same mitigation settings but no subnets associated with the zone.
Adding a Subnet
At the top of the column, click the three bar icon and select Add Subnet.
A new subnet column will appear to the right, allowing you add new subnets to the zone.
Deleting a Subnet
When a subnet is selected, the option to Delete Subnet will become available in the three bar icon at the top of the zone column.
A confirmation dialog will pop up, and if you select OK the subnet will be removed from the zone.
When a subnet is removed, the zone with the next most specific subnet will become responsible for traffic to the deleted subnet.
For example, say zone A is assigned 172.16.0.0/16, and zone B is assigned 172.16.1.0/24. If you delete the subnet assignment to zone B, all traffic to 172.16.1.0/24 will now be handled by zone A.
Subnet Column
A Subnet Column represents a subnet assigned to a zone.
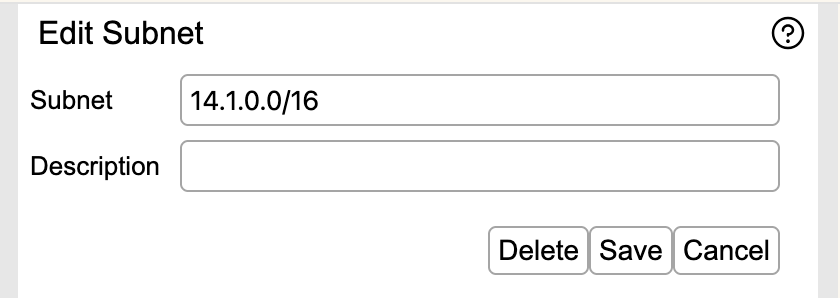
The Subnet represents the destination addresses that will be filtered by the zone mitigation settings. Entries without a specified subnet mask will be saved as a /32 for IPv4 addresses or /128 for IPv6 addresses.
An optional Description can be entered to help label the subnet.
If you are adding a subnet, you can enter multiple entries at once, separated by newlines. Hit Save to add the subnet entry to the zone. Hit Cancel to cancel.
If you are editing a subnet, hit Save once you've made changes to store them. You can also Delete the subnet entry. Hit Cancel to remove the editing column.